new stuff!
January 26, 2012
Hello friends! I am making tons of new stuff for the spring and summer. Lately, I’ve been inspired by so many things from vintage calico fabrics to vibrant and exotic beads. Here is a preview of some of things I’ve been adding to my shop…
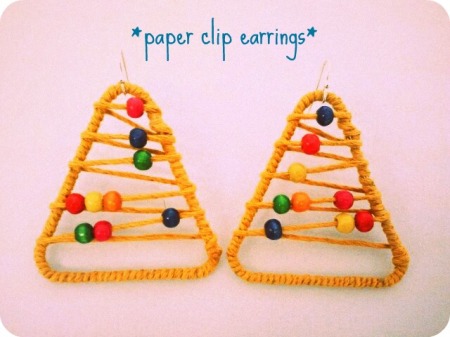
These earrings remind me of those fun toys I used to play with in the waiting room at my doctor’s office back in the day haha! They were strangely calming, which I guess might be the whole point.
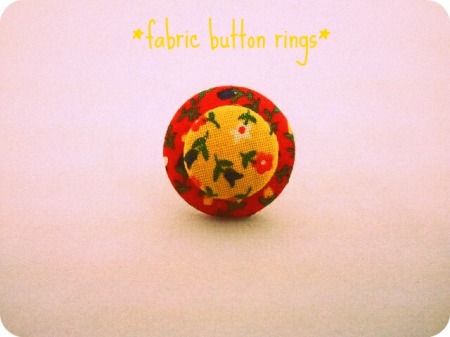
I searched high and low for these calico fabrics, and I finally found an awesome collection from this nice lady on Etsy. Her shop is called In the Old School House.
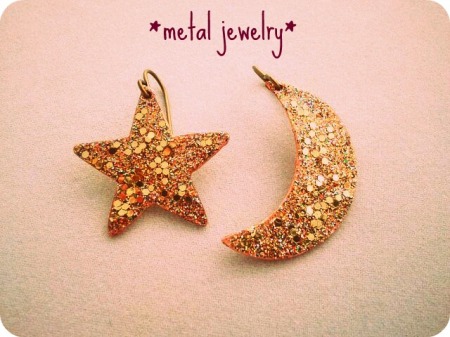
I am slowly but surely adding new metal designs to my shop. I discovered a fool-proof new way to draw the perfect moon shape, so I improved the look of my celestial earrings. After posting my new and improved earrings, I sold my first pair to a nice girl in Antioch, California. I hope she likes em’!
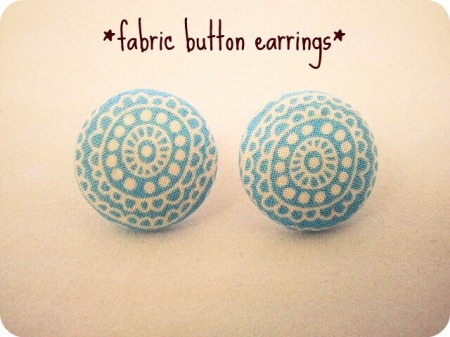
I love this fabric! It is the prettiest shade of light blue. I know these earrings will look stunning with a tan! I can see it all now… white sun dress, big retro sunglasses, strappy sandals, and these baby blue beauties…
My list of nation-wide customers is growing each week. My jewelry has travelled to the following places…
(This list is more for my own personal pleasure but I just want to share it because I’m so excited!)
Amenia, New York
Antioch, California
Atlanta, Georgia
Australia
Berlin, Germany
Brooklyn, New York
Conyers, Georgia
Darrow, Louisiana
Fredericksburg, Virginia
Livorno, Italy
Los Angeles, California
Madison, Wisconsin
Morrison, Colorado
Oslo, Norway
Parker, Colorado
Pittsburgh, Pennsylvania
Playa del Rey, California
Portland, Oregon
Richmond, Virginia
San Diego, California
Spring, Texas
Talahassee, Florida
Westerville, Ohio
Wheaton, Illinois
And tons of people in Hampton Roads yaaaay!
eye catching jewelry displays.
December 6, 2011
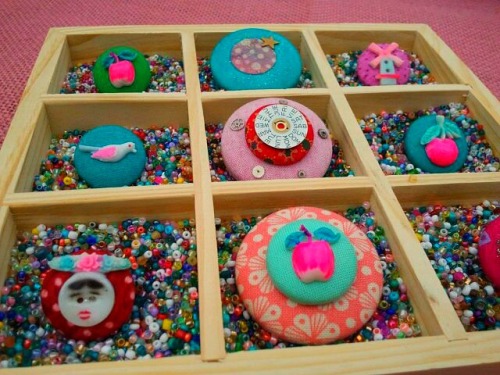
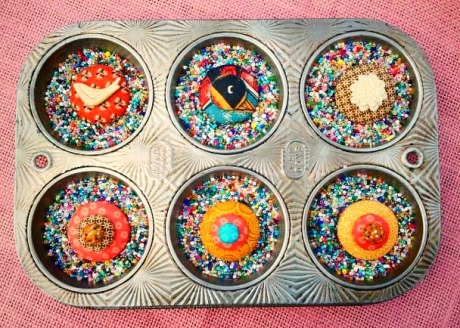
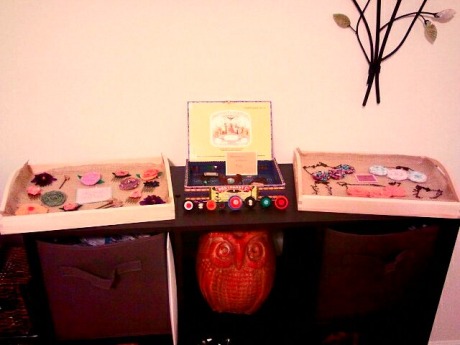
I’ve always been attracted to bright colors and lots of them. Don’t get me wrong, I do love earthy simplicity, but when it comes to grabbing the attention of potential customers at craft shows, it literally pays to have a unique and colorful presentation. I suppose it all depends on what is being sold, as well as the target audience, but for my stuff in particular, it makes perfect sense. When creating the following displays, I was inspired by the aesthetically pleasing appearance and texture of seed beads. First of all, they serve well in anchoring rings in a fixed position for optimum visibility. Then the tiny specks of different colors blending into one perfect “super color,” invokes that inevitable child-like excitement, much like that feeling of walking into a candy shop. This sets the mood for a “kid in a candy shop” type of shopping experience. Seed beads work in pretty much any horizontal fashion. I chose to use them in repurposed vintage muffin tins, which I purchased from a thrift store, as well as wooden miniature collection displays from the Dollar Tree that I laid flat. I decided not to paint the unfinished wood, to further accentuate the seed beads and the handmade treasures resting inside them…
Though this jewelry may not necessarily be your style, you have to admit there is just something about it that makes you want to stop and marvel at all the pretty colors. Right? These displays are cheap and easy. I found tons of quality seed beads at Hobby Lobby that I just dumped in a photo box, although it’s probably best to keep them in a more sealed container. I can just see it raining seed beads right now. Anyway, I love digging my hands into the box of beads each time I prepare my displays. Never underestimate the power of texture.
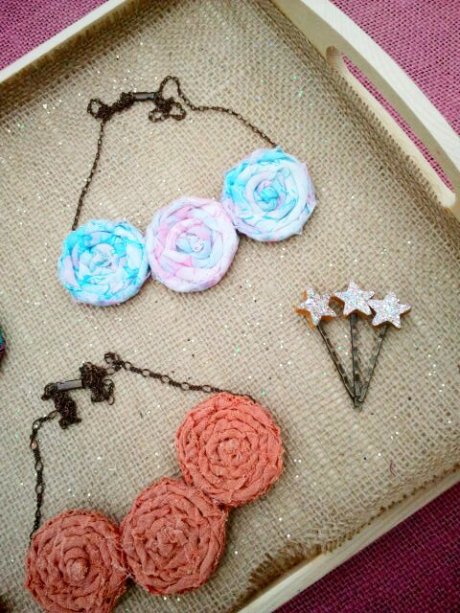
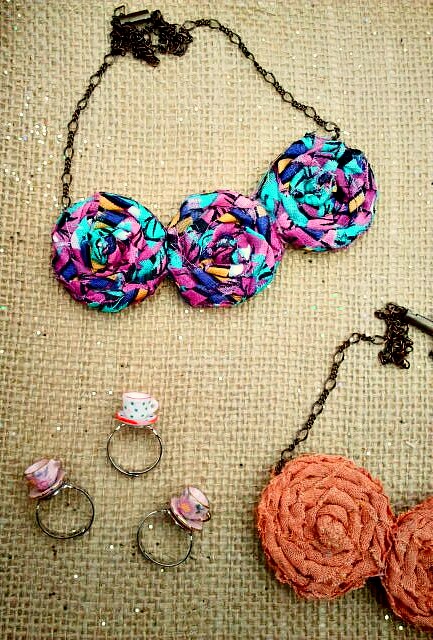
The next display is more of that simple look that I also love. I know not everything can be bright and colorful. I’m not trying to overstimulate. I found these cute unfinished wood serving trays in a pack of two, one slightly smaller than the other, at Michael’s for $3.99. I laid a plain piece of burlap inside them and lightly sprinkled some chunky gold and iridescent glitter on top. The photos don’t really do the glitter justice. It adds just the right amount of twinkling femininity to complement the jewelry…
Lastly, and perhaps most eye-catching of all, is my antique birdcage display. A very generous woman gave this awesome find to me. It is dainty and perfect for displaying my many fabric button earrings. I attach the earrings cards to the wire cage with cute little clothespins…
A friend of mine recently hosted a party at her house to help me in my craft selling venture. It was really cozy and fun! I didn’t get very good photos, but you’ll get a general idea…
DIY paper clip earrings
November 29, 2011
 Recently I felt myself falling into sort of a creative rut. I took a little break from crafting and began perusing my favorite blogs as well as the always inspiring craftgawker. During my ventures, I stumbled upon a bunch of really fun new DIY projects, one of which I had to try right away –paper clip earrings. I love when I already have all of the materials required to complete a project. Anyway, after finishing one pair I was hooked. Not only did they turn out really cool, I strangely enjoyed the therapeutic motion of winding string around wire. I made a bunch of earrings trying both colored hemp and yarn. I gave a pair to my friend, Laura, for her birthday and was super excited to hear her say she “could totally picture them gracing the pages of the Anthropologie catalogue.” These earrings make unique holiday gifts, so I’m excited to pass along this tutorial. So here goes, my friends…
paper clip earrings
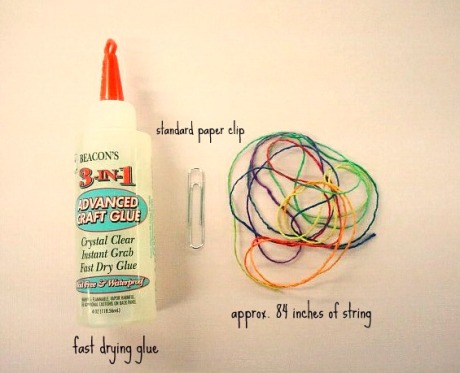
what you will need:
As far as the glue is concerned, one that dries clearly and quickly is ideal. I took a picture of only one paper clip, but obviously you will need two. Also, I know 84 inches sounds like a lot of string, but if you plan to wrap them the way I did, in a continuous pattern with minimal knots, it is best to use one really long piece of string. Anyway, next you will unbend the paper clip at all of the rounded edges…
Once the edges are all open, you will shape it into a triangle. The open side of the triangle will overlap a bit, which makes it easier to bind the sides together. Next you should tie a knot, secured with glue, at a point on the triangle, like so…
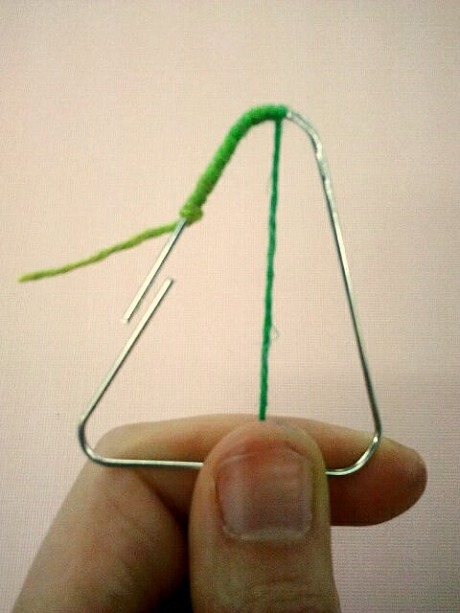
Add a tiny bit of glue to a small area of the paper clip, as it will dry pretty fast, and wrap the string around and around in a tight fashion. I try to wind the string away from the opening so that I may use it to my advantage. Rather than spending lots of extra time pulling the ridiculously long piece of string through the triangle with each turn, you can simply slide it in through the opening. You will see what I mean…
Please excuse my poorly trimmed nails:) The only tricky part of this project is wrapping the overlapping, open side of the triangle. I tried to overlap the sides one on top of the other rather than side by side so it would be less visible. Just do your best to hold them in this position with a good amount of glue while you wrap. It’s really not that hard, I promise. Once the string wraps all the way around, wrap it to a point just below the top of the triangle so you may begin the infinitely easier task of wrapping it across the triangle. Try not to go too crazy with the glue so the earrings look nice and neat. I left space at the top and bottom because the string is most secure from unraveling. When you reach a stopping point, tie a knot and secure it well with glue. They should somewhat resemble these…
That’s my friend Laura wearing her new earrings. I love how they happen to match her shirt perfectly! You can do so many different things with these earrings. Instead of wrapping them so tightly, you can make a sort of webbed, dream catcher look, and even add some beads to it…
If you decide to use yarn, you can achieve some really interesting looks. I should note that yarn is much more stretchy, so you won’t need nearly as much as you would with, say, hemp. I would go so far as to say you may need only half the amount. If you like the rainbow hemp, you can purchase some at a lovely shop called Hemp Hutt. I hope this tutorial was clear enough. This is my first one! Enjoy and let me know how it goes!
Of course, you will need some music for inspiration. Here is a random playlist of awesome songs.
Don’t worry, though. If you don’t feel like doing this, but you think the earrings look cool, I’m selling them in my etsy shop!
