etsy love.
December 30, 2011
I love Etsy. I always have. Since the moment I laid eyes on it after a Handmade Parade craft show back in (I think) 2006, I knew it was a happy place. This particular craft show was one of my first experiences with authentically handmade culture. The bright colors, the good smells, and the hopeful people stirred a new sensation within me -one of complete consumeristic joy mixed with a bit of envy. I had always loved creating things but never considered selling them to be a viable money-making option. Here all these people were selling things that they had made -magical things to me. As I walked around marveling at the most unique products I had seriously ever seen, I realized just how much hard work the sellers put into their respective businesses, not only the product but the presentation and the professionalism. On top of that, everybody was so nice and enthusiastic about what they were selling. Either they truly loved their job, or they were really good actors. Sadly, I could not afford to buy everything I wanted that day, but I was comforted to know that I could one day -thanks to a few letters printed on almost all of their business cards –etsy.com.
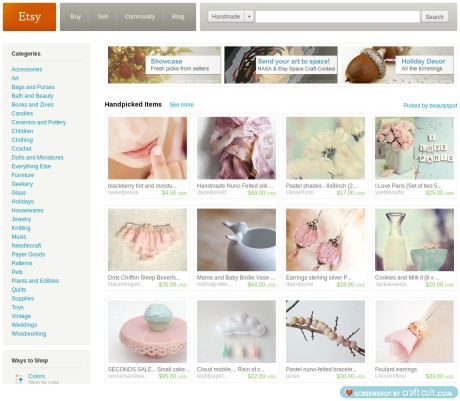
I was extremely curious and went straight to my computer when I got home. WOAH. The very first page was entrancing. My eyes tried to focus on the items displayed in a rectangular arrangement of visual splendor. It was a few minutes later that I realized the sheer magnitude of this handmade phenomenon. I couldn’t believe all of the categories of handmade and vintage things just waiting for my consideration.
Needless to say, I was on Etsy for a few hours that night. My eyes ached when I finally went to bed at 3 am. And I had to work the next day too! It was no longer just about buying things. It was so much more. It was a welcomed vacation from the craziness of life to a land of limitless creative possibilities and passions pursued. The PASSION oozed from the product photos and descriptions, and the sellers’ intimate bios. What I loved the most was the story and feeling that sellers brought to life in each handmade listing. I bought a few more things that night, and for the second time that day, I felt really good about the transaction. In a way, I felt like I sort of knew the people, and by owning and appreciating their handmade creations, I was helping their dreams come true. When I learned that listing a handmade item was only 20 cents, it finally occurred to me that I could try if I really wanted, to create something that another human being might want -with very little risk involved. It was such a happy, exciting feeling.
Etsy has been the best study guide a novice jewelry seller like me could ever have. It’s fun, interactive, and enthusiastically helpful. There is a plethora of resources available to all levels of Etsians from buyers to prospective sellers, to beginning shops, to well-established businesses. Clearly, the learning process never ends. YES. It is overwhelming. YES. It is easy to get lost in a sea of worldwide handcrafted loveliness. YES. It is a lot of work. But it’s like a fun game too. It’s a challenge to make, photograph, name, and describe something I create that will hopefully reach out to at least one other human being. Essentially, I can play the role of designer, inventor, photographer, marketing specialist, salesperson, financial analyst, and authentic human being all at once. This continuous cross training of professions is very time consuming but to me, never boring. And when I do manage to sell something, it is an indescribably wonderful feeling.
I am very new to selling my handmade goods. Every day I gain crucial knowledge in building a successful business. In fact, I’m kind of embarrassed to admit that just a few minutes ago, I discovered Etsy’s Shop Stats. With this amazing tool, I can analyze my shop statistics and hopefully increase my shop’s exposure and appeal to the world -even through other venues like Google, Pinterest, Facebook, Tumblr, and even WordPress. In fact, this is what prompted me to write such a glowing review of Etsy. Just by reading my Shop Stats I learned that my recent attempts to start a blog and Facebook page have really paid off, significantly increasing my level of exposure and subsequently my sales. This feature also showed me that people are drawn to both brightly colored photos against a stark white background, and photos of real people wearing my jewelry in a visually pleasing way. The words “Bob Dylan” and “Navajo,” have earned special places in my heart as winning item “tags” since Shop Stats informed me that they are my most searched keywords. I am so glad I am now aware of this highly informative feature. Checking my Shop Stats will become part of my weekly routine, pushing me to constantly learn ways to improve my product as well as my effectiveness as a seller. I hope to one day make a person think, “wow this girl has really taken her craft to the next level…”
Perhaps the best thing about Etsy is that it is collaborative. You can join teams, attend craft labs, post in forums, and just talk to other sellers. In my experience, most people are happy to share helpful bits of advice with an inquiring newbie. Etsy WANTS you to success. Of course, they benefit from your success, but they also understand the importance of cultivating small businesses, promoting independence and creative thinking. Basically, I just love Etsy. I could talk about it all day. I like to look at it as a sort of frontier for craftspeople of the world, a place where handmade dreams become reality. It is corny but true. Just see for yourself.
charming and delightfully repurposed.
December 27, 2011
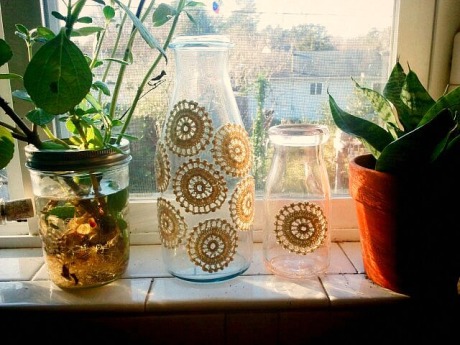
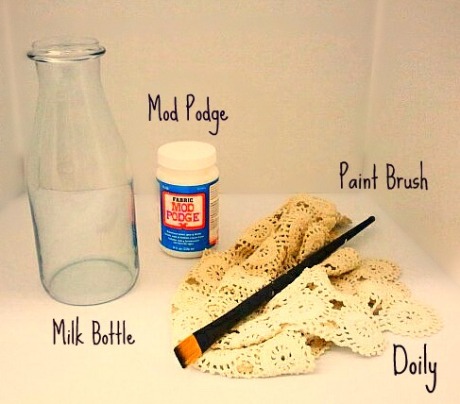
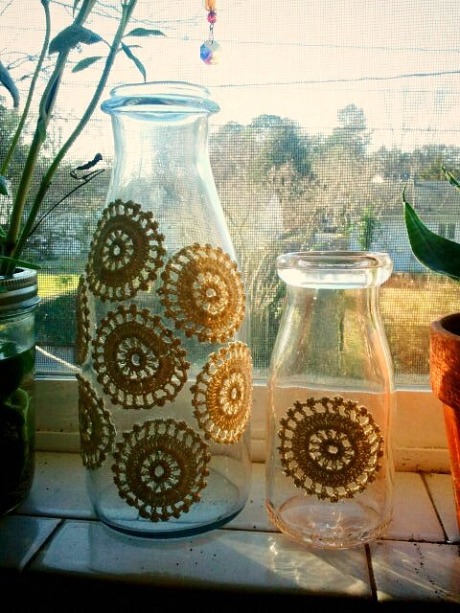
A few weeks ago, inspired by some really creative DIY doily projects on Pinterest, I attempted a project of my own. With very little money to spare for holiday gifts, I decided to go the handmade, and in my opinion, much more thoughtful route. After I searched unsuccessfully for some doilies at the local thrift shops, a friend of mine selflessly gave me a handful of really pretty doilies she had collected over the past few years, some of which were passed down though her family. She also gave me a bunch of different glass bottles to play with, with the one request that I share my creations with her. Among the many cool glass bottles, I found two cute milk bottles that seemed to me, almost like mother and child. This seemed very fitting for this maternal woman. I decided to repurpose them and turn them into flower vases! I used the following materials…
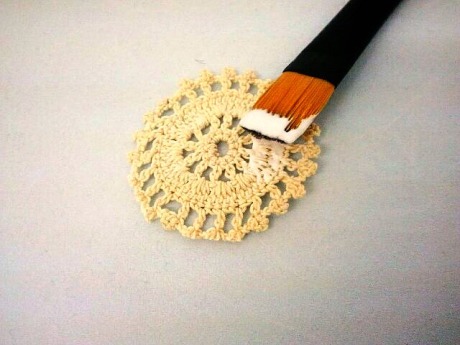
Oops I forgot to include scissors! Oh well. I picked up the nicely crocheted doily, apologized to it, then began cutting away at it until I had a few circular pieces. I used Fabric Mod Podge to adhere the round pieces to the milk bottles in an aesthetically pleasing way.
I thought I’d keep it simple with the smaller bottle. I decided not to make the pattern go all the way around the bottles so the sunlight could still shine through them. Plus, I didn’t want to take away from the future fresh cut flowers. I know I’m lame for not finding any flowers to put in the vases but I didn’t have time! They were kind of a last minute holiday gift but my friend still loved them and quickly added them to her windowsill. Yay!
mmm florentine cookies…
December 27, 2011
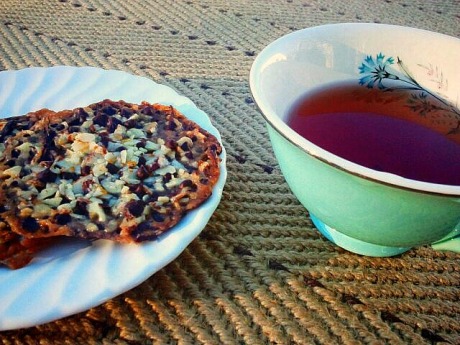
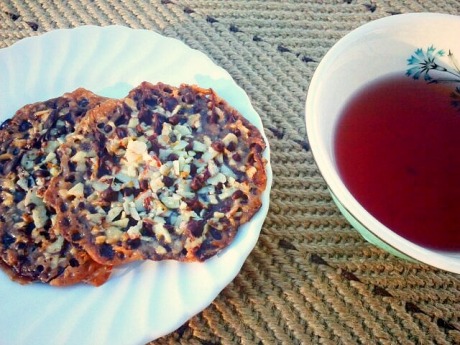
For the holidays, I decided to look like a real gourmet and make a classic Italian cookie, The Florentine. With almonds, orange zest, butter, semi-sweet chocolate, and honey as the primary ingredients, this cookie has a complex and worldly taste.
I am a big fan of mixing chocolate and orange, so this particular recipe, which I borrowed from Giada De Laurentis, was just what I wanted. Plus, the peanut brittle-esque texture made it all the more interesting.
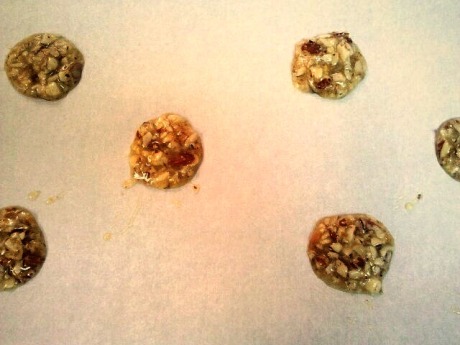
The reviews on the Food Network website seemed to unanimously agree that this cookie was absolutely delicious but rather finicky to bake in the oven, the issue being spreading and burning. I learned that it is best to scoop no more than one teaspoon of batter onto a parchment paper-lined cookie sheet, and to bake no more than six cookies at once for about 9 to 10 minutes.
Of course all ovens are a bit different. It is also extremely important to watch these cookies closely as they bake because they can quickly go from almost perfect to burned in a matter of seconds.
Other than that, these cookies were easy to make and are so worth the little bit of trouble I had to endure, and I even doubled the recipe. They bake into a beautifully imperfect, delicate and lacy cookie that can be sandwiched to a similar sized cookie using semi-sweet chocolate. I chose to use Ghiardelli semi-sweet chocolate chips because when it comes to baking cookies for other people, I want to make them taste as good as they possibly can. I used my Wilton Chocolate Pro that I got with one of those 40% of coupons you get with your receipt from Michael’s, and it was one of the best investments I ever made. I use it all the time for things like cake balls and truffles. Some people just left out the chocolate in this recipe because they are just as tasty on their own. Everyone that tasted these cookies claimed they melted in their mouths, and that I had really outdone myself. They liked that they weren’t too heavy and that they awakened the taste buds in a unique way. You have to try them to understand what I mean. The next time you need to make cookies, you should definitely try this recipe. People will be impressed with you. They are pretty darn good if I do say so myself.
Florentine Cookies (courtesy of Giada De Laurentis)
Ingredients
- 2 cups sliced almonds, chopped
- 2 tablespoons all-purpose flour
- 2 teaspoons grated orange zest
- 3/4 cup sugar
- 1/2 cup (1 stick) butter, cut into pieces
- 1/3 cup whipping cream
- 2 tablespoons honey
- 8 ounces bittersweet or semisweet chocolate chips
Directions
Position the rack in the center of the oven and preheat the oven to 350 degrees F.
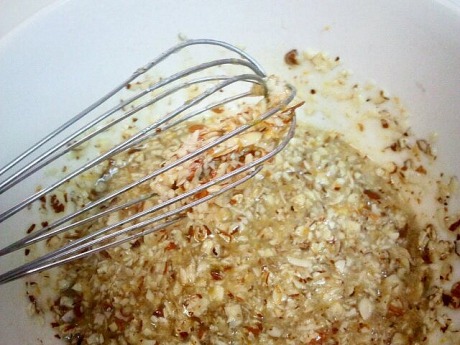
Line a heavy large baking sheet with parchment paper. Stir the almonds, flour and zest in a medium bowl. Stir the sugar, butter, cream, and honey in a heavy medium saucepan over medium heat until the sugar dissolves. Bring the mixture to a boil. Remove the pan from the heat. Stir in the almond mixture. Cool the batter for 20 minutes, stirring occasionally. Using 1 teaspoon of batter for each cookie, spoon 6 mounds of the batter onto the prepared baking sheet, spacing evenly apart (the cookies will spread). Flatten the batter slightly with your finger.
Bake the cookies until they are lacy and golden brown, about 10 minutes. Gently slide the parchment paper with the cookies onto a rack and cool completely. Transfer the cookies to paper towels. Repeat with the remaining batter, lining the baking sheets with clean parchment for each batch. (The cookies can be made up to this point 2 months ahead. Cool completely, then store airtight in the freezer. Defrost before continuing.)
Stir the chocolate in a bowl set over a saucepan of simmering water, or using a chocolate melting device, until the chocolate melts. Spread the melted chocolate over the bottom of 1 cookie. Top with a second cookie, bottom side down, pressing lightly to adhere. Repeat with the remaining cookies and chocolate.
Enjoy my friends!
a whirlwind of photo shoots.
December 26, 2011

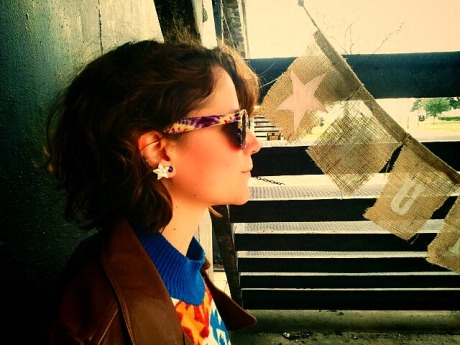
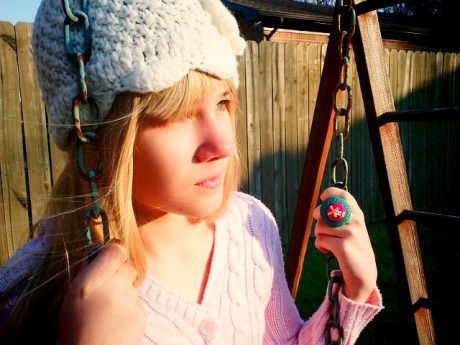
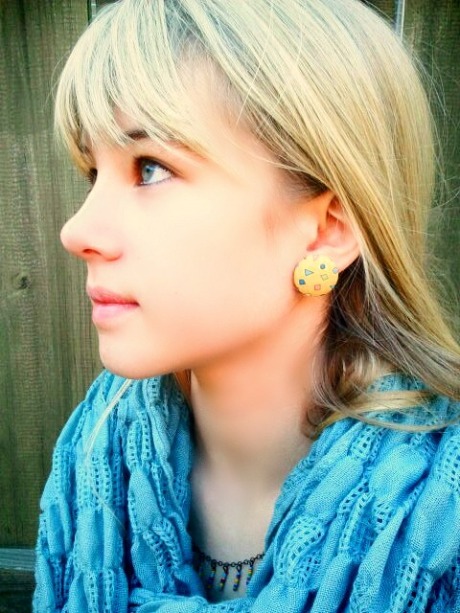
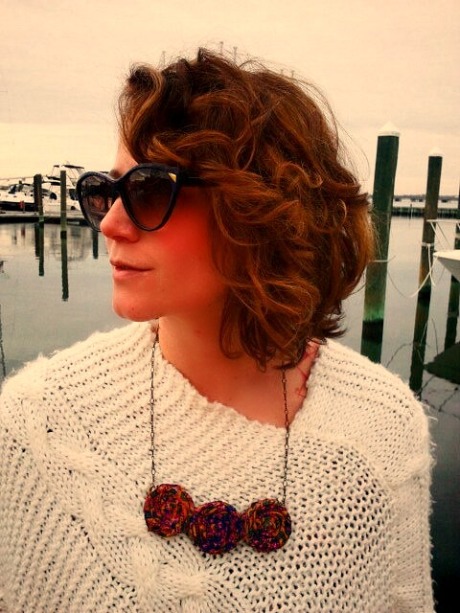
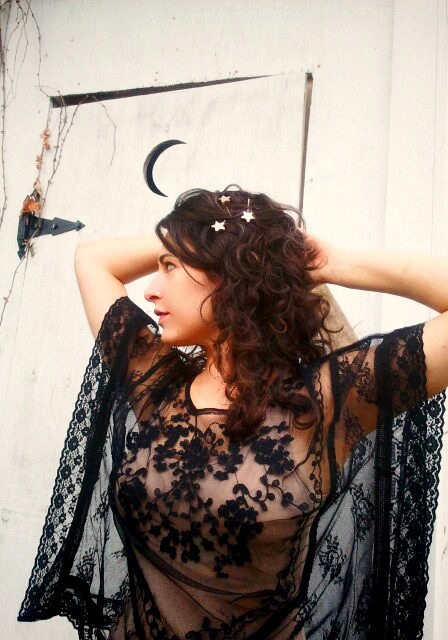
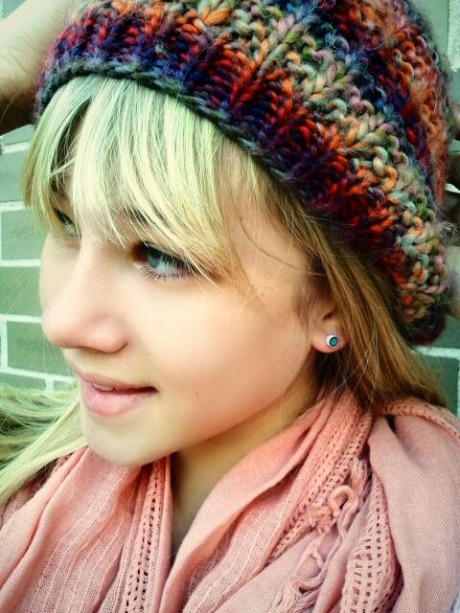
Like many people, I feel like I haven’t stopped moving over the past few weeks. I’ve found it difficult to sleep, unable to turn off the thoughts and ideas manifesting in my brain like explosions of creative confetti, maddening and exciting all at once. I know that sounds cheesy, but that is the only way I can describe it. I’m sort of mad at myself that I haven’t taken the time to document all of the baking and crafty projects I’ve been doing lately, but I hardly had time to complete them let alone photograph them in an aesthetically pleasing way. I did manage to take a series of photos of my new jewelry line, which I am so excited to share with people.
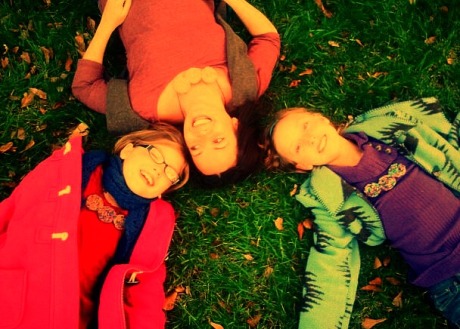
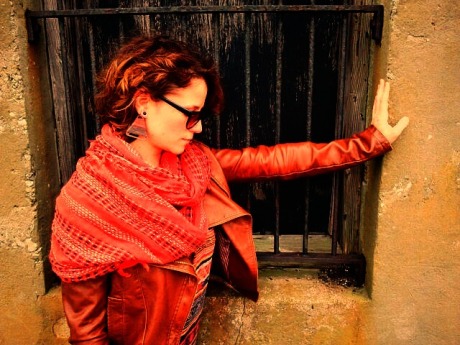
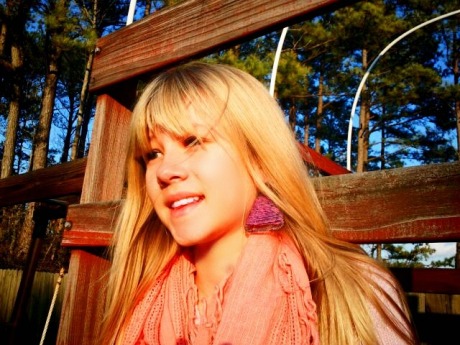
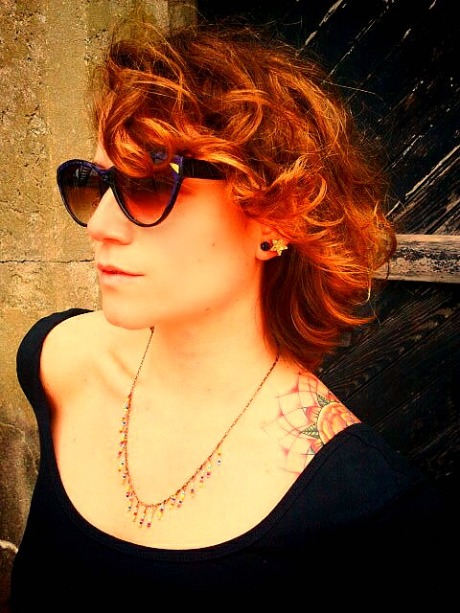
Planning these winter photo shoots was far more difficult than any that I did this summer. First of all, it was freezing. Second, the sunlight was scarce. And third, I had to find a time that was convenient for everyone in the midst of this hectic holiday season. I had planned to wait until after the holidays, but I really wanted to present some nice photos of my jewelry to present to all of the holiday shoppers. Fortunately, I was able to do four different photo shoots, some of which were with people I hardly knew. Interestingly enough, friends of friends that had seen my previous photos contacted me to see if they could model some of my jewelry. I was surprised and flattered.
For me, this was sort of a daunting task, as I am somewhat shy and could use a little work explaining the direction that I want my photos to take. After reviewing all of the photos, I am so happy that I forced myself outside of my comfort zone. I made some new friends and connections and I got just a little bit better at verbally communicating my creative thoughts with other people.
With the help of my models, I found some great places to use as backdrops for my photos, and discovered new ways of expressing the intention behind my creativity. One girl suggested that I play music that expresses the style of my jewelry and that has made all the difference. I can’t believe it never occurred to me before! It really puts people at ease and inspires them to open up the most vulnerable places within themselves to become, in a way, a piece of art. Music has the power to unplug people from the mundane parts of life, and feel passionate and important. It took some of the pressure off of me to explain my aesthetic goals. I also got some great ideas browsing “pretty poses” on Pinterest. I made a really inspiring collection of photo ideas to use for future shoots.
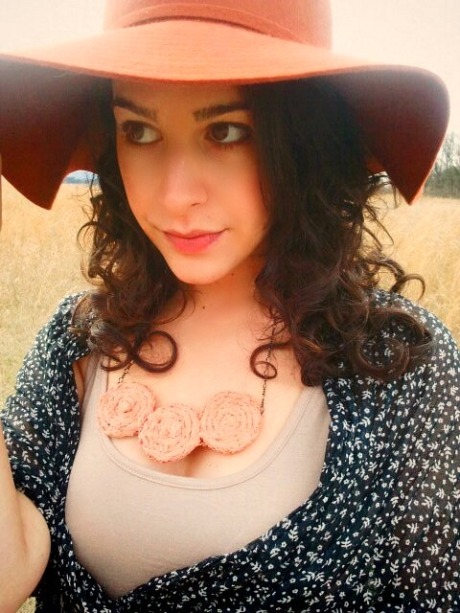
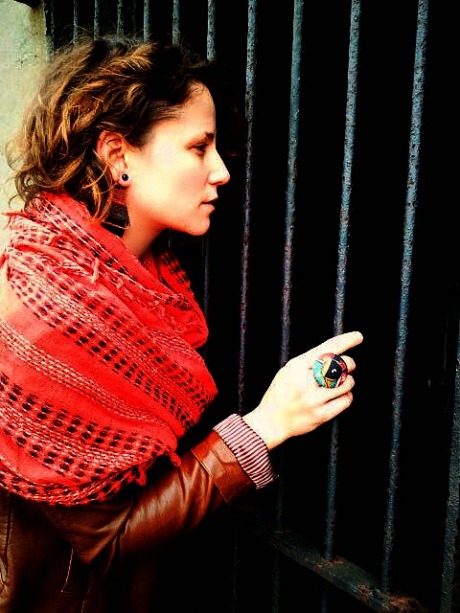
These photos opened a few important doors for me. The owner of Beaucoup Vintage, a really cool shop in Frederickburg, saw one of the photo shoots and contacted me to be featured in a trunk show at her shop. Needless to say, I was flattered and very excited. After adding the photos to my Etsy listings, I made sales three days in a row. This might not be a big deal to the well established sellers on Etsy, but I was super excited! One friend even described my jewelry as “joyful,” which really made my day. All of these things have pushed me a little further to pursue my creative dream. I can’t wait to do some more photo shoots and possibly make some new friends! Here are a few more of my favorites…
Ok. Enough. If you would like to see more of my jewelry, please visit my Luna Rosa business page on Facebook. Happy Holidays!
eye catching jewelry displays.
December 6, 2011
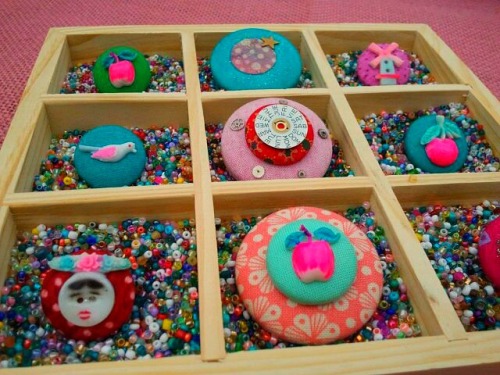
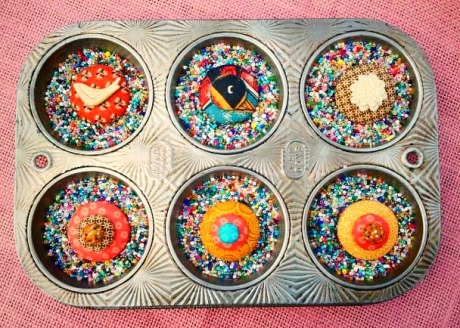
I’ve always been attracted to bright colors and lots of them. Don’t get me wrong, I do love earthy simplicity, but when it comes to grabbing the attention of potential customers at craft shows, it literally pays to have a unique and colorful presentation. I suppose it all depends on what is being sold, as well as the target audience, but for my stuff in particular, it makes perfect sense. When creating the following displays, I was inspired by the aesthetically pleasing appearance and texture of seed beads. First of all, they serve well in anchoring rings in a fixed position for optimum visibility. Then the tiny specks of different colors blending into one perfect “super color,” invokes that inevitable child-like excitement, much like that feeling of walking into a candy shop. This sets the mood for a “kid in a candy shop” type of shopping experience. Seed beads work in pretty much any horizontal fashion. I chose to use them in repurposed vintage muffin tins, which I purchased from a thrift store, as well as wooden miniature collection displays from the Dollar Tree that I laid flat. I decided not to paint the unfinished wood, to further accentuate the seed beads and the handmade treasures resting inside them…
Though this jewelry may not necessarily be your style, you have to admit there is just something about it that makes you want to stop and marvel at all the pretty colors. Right? These displays are cheap and easy. I found tons of quality seed beads at Hobby Lobby that I just dumped in a photo box, although it’s probably best to keep them in a more sealed container. I can just see it raining seed beads right now. Anyway, I love digging my hands into the box of beads each time I prepare my displays. Never underestimate the power of texture.
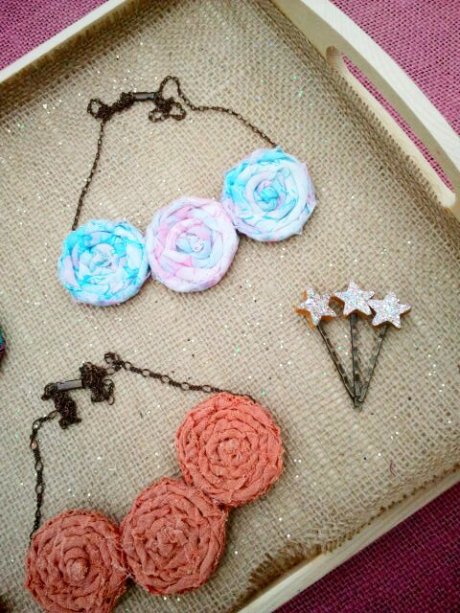
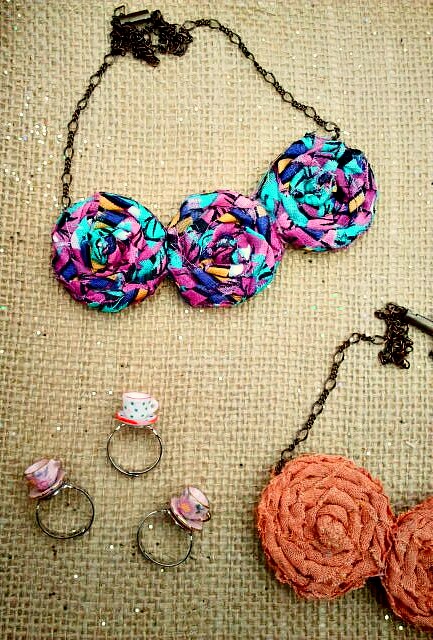
The next display is more of that simple look that I also love. I know not everything can be bright and colorful. I’m not trying to overstimulate. I found these cute unfinished wood serving trays in a pack of two, one slightly smaller than the other, at Michael’s for $3.99. I laid a plain piece of burlap inside them and lightly sprinkled some chunky gold and iridescent glitter on top. The photos don’t really do the glitter justice. It adds just the right amount of twinkling femininity to complement the jewelry…
Lastly, and perhaps most eye-catching of all, is my antique birdcage display. A very generous woman gave this awesome find to me. It is dainty and perfect for displaying my many fabric button earrings. I attach the earrings cards to the wire cage with cute little clothespins…
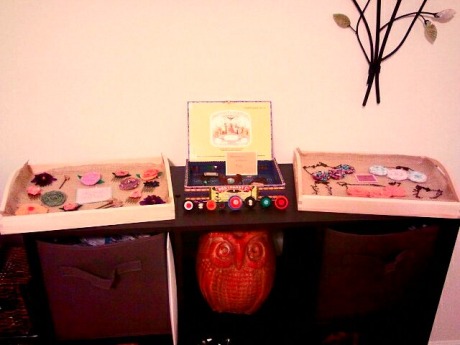
A friend of mine recently hosted a party at her house to help me in my craft selling venture. It was really cozy and fun! I didn’t get very good photos, but you’ll get a general idea…
